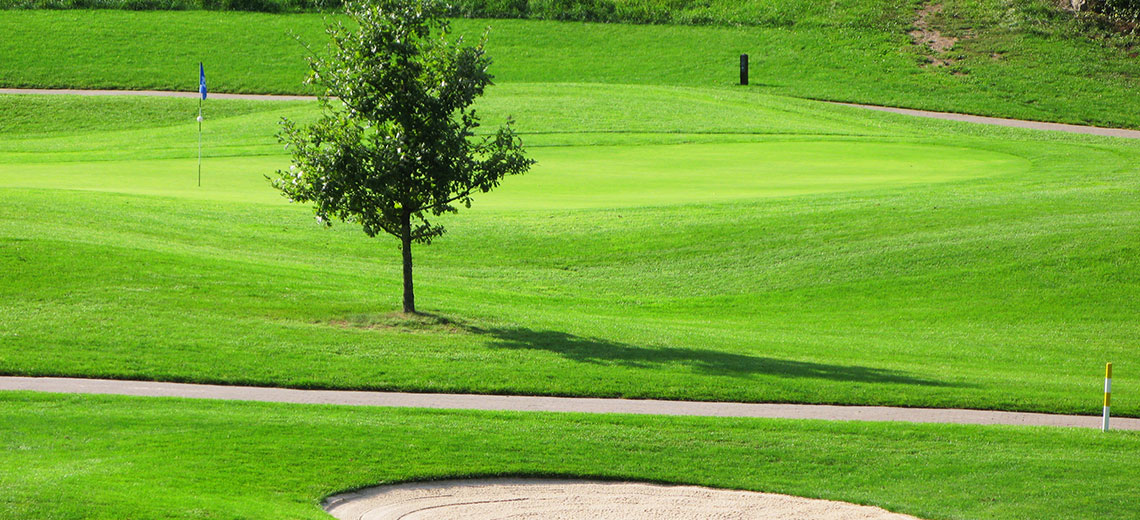
This is the shorter and more open of the two courses at El Prado, playing to 6,568 yards from the back tees to a par of 72. This is a “second shot course” that rewards accuracy and excellent iron play…and the need to be good out of the sand. Emphasis is placed on accurate driving and with all 18 of the small greens having strategically placed bunkers around them, the challenge also demands good club selection and careful approach lines into the greens. It’s possible for long hitters to reach all four of the par 5’s in two. But water can come into play on all four holes forcing many to consider the risk/reward options.
Hole Overview
Hole #1 Par 4 Yardages – Blue: 369, White: 361, Red 316
Description: A big dog leg right that requires an accurate drive to avoid the trees along the right side. The approach shot is all carry to a green that is trapped on the right. Be sure to select enough club to avoid coming up short.
Hole #2 Par 3 Yardages – Blue: 160, White: 130, Red 107
Description: A big teeing area requires an accurate assessment of the yardage. Proper club selection is the key. The green is trapped heavily on both sides.
Hole #3 Par 4 Yardages – Blue: 370, White: 360, Red 314
Description: This uphill dog leg right requires a tee shot that avoids the troubles on the right. The second shot is to a green that is trapped on both sides.
Hole #4 Par 4 Yardages – Blue: 421, White: 410, Red 350
Description: Toughest par 4 on the golf course. The drive is uphill and must avoid sand on the left. The approach shot will be uphill from long distance to a green that is trapped on the left. A hidden pond catches errant shots that bounce away to the right.
Hole #5 Par 4 Yardages – Blue: 397, White: 384, Red 339
Description: Position tee shots on the left half of this fairway. Long hitters going right can end up in the Creek if they carry too far. The second shot is to an elevated green trapped on the left. Be sure to select enough club to avoid coming up short.
Hole #6 Par 5 Yardages – Blue: 512, White: 493, Red 450
Description: This hole requires a bit of planning as a pond comes into play on the second shot. Most players select clubs that will allow them to lay up their second shots at the 100 yard marker. Shots that stray left can roll into the pond. The approach shot is all carry to a small green than is trapped on the right.
Hole #7 Par 3 Yardages – Blue: 186, White: 178, Red 142
Description: A straightforward hole with traps on the right. The best place to miss this green is left!
Hole #8 Par 4 Yardages – Blue: 377, White: 362, Red 315
Description: A narrow driving hole with troubles on both sides…OB and sand on the right and a pond on the left that is within reach for the longer hitters. From the fairway the second shot is to a green that is heavily trapped on both sides.
Hole #9 Par 5 Yardages – Blue: 489, White: 480, Red 437
Description: Avoid the two sand traps on the right off the tee. Long hitters can have a go at reaching this par 5 in two shots! The pond on the left can claim inaccurate shots. The approach shot is to a green that is heavily trapped on both sides.
Hole #10 Par 4 Yardages – Blue: 362, White: 346, Red 306
Description: This straightforward opening hole requires an accurate drive. Long hitters may have to lay up to avoid the Creek that comes into play on the left. The second shot is uphill to an elevated green that is trapped on both sides. Be sure to select enough club to avoid coming up short.
Hole #11 Par 4 Yardages – Blue: 374, White: 359, Red 324
Description: Avoid the fairway trap on the left that comes into play off the tee. The shot from the fairway is slightly uphill to a green that is trapped on the left.
Hole #12 Par 5 Yardages – Blue: 524, White: 509, Red 463
Description: Play to the right center off the tee as a pair of fairway traps are in play waiting to capture tee shots that stray left. The second shot needs to avoid the left side as a pond comes into play 110 yards from the green. The approach is to a green that is trapped on both sides.
Hole #13 Par 4 Yardages – Blue: 389, White: 370, Red 327
Description: A slight dog leg right, this is the toughest par 4 on the front nine. Play left center off the tee and avoid the sand on the right. The shot from the fairway is to a green that is trapped on both sides.
Hole #14 Par 3 Yardages – Blue: 195, White: 149, Red 124
Description: The toughest par 3 on the golf course! It’s all carry and two big traps wait to punish errant shots.
Hole #15 Par 4 Yardages – Blue: 374, White: 364, Red 315
Description: This hole requires an accurate drive as sand on the left and trees on the right can come into play. The approach shot is to a green that is heavily trapped on both sides.
Hole #16 Par 5 Yardages – Blue: 543, White: 501, Red 451
Description: Avoid the sand on the left off the tee. Try to position the second shot in the fairway near the 100 yard marker. A pond on the left comes into play inside 100 yards. Long hitters may need to lay up to avoid rolling in. The approach shot is to a green that is heavily trapped on the right side.
Hole #17 Par 3 Yardages – Blue: 143, White: 128, Red 107
Description: Club selection is the key here. Visual distractions come into play with a pond on the left and traps on the right.
Hole #18 Par 4 Yardages – Blue: 383, White: 367, Red 320
Description: A tee shot in the left center of the fairway will void the sand on the right. The approach is to a green heavily trapped on the left.


